How To Disable Auto Arrange In Folders On Windows 10?
admin / March 20, 2026
Not sure why Microsoft desideded to not allow the end user to disable auto arrange in folders but this has annoyed me for years but I thought I take a dive in actually disable auto arrange in folders on my Windows 10 computer.
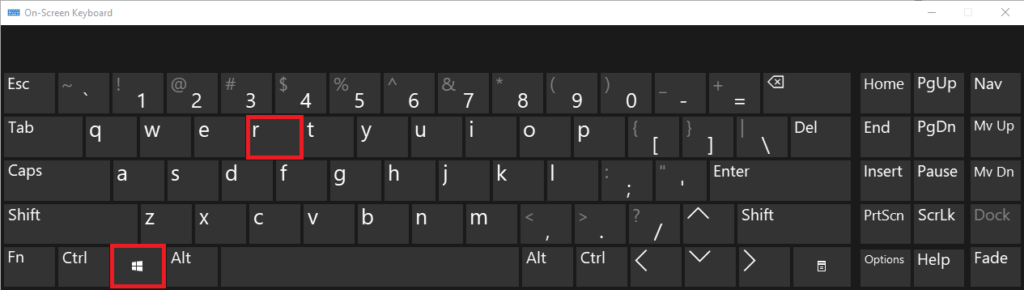
Step 1: As seen in the onscreen keyboard as an example to illustrate your keyboard, press the “Windows Logo” button plus the “r” key to open the Run dialog box as seen on the screenshot below the onscreen keyboard screenshot.
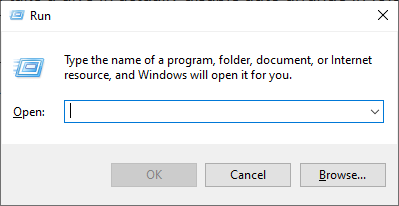
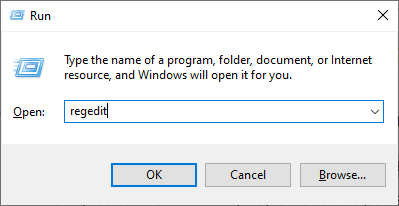
Step 2: In the run dialog box, enter the following “regedit” and then press “OK”, this will open the registry editor.
Step 3: You may get a warring about trusing this app, press “Yes”.
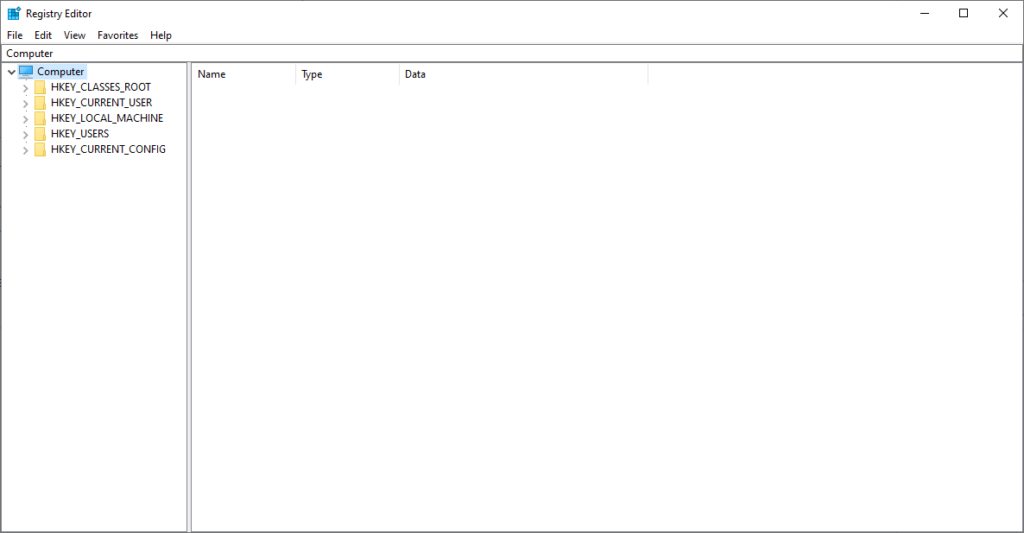
Step 4: In the screenshot blow is the registry editor, on the left-side you see “HKEY_CLASSES_ROOT, HKEY_CURRENT_USER, etc. and on the right-side you see a blank space with tabs that says “Name, Type and Date. As you open the folders to expand them, you will notice the right-side will start to fill in with settings and as you deep, deeper into the folders you will notice the right-side will change.
Do NOT change anything unless you have been told to do so, or you know what you are doing as changing theses settings can cause your computer to stop working.
Now that we know a little about how the registry editor works, lets begin to find the setting we need to change. Make sure you are chaning the correct setting, click on HKEY_CURRENT_USER > Software > Classes > Local Settings > Software > Microsoft > Windows > Shell
HKEY_CURRENT_USER\Software\Classes\Local Settings\Software\Microsoft\Windows\Shell
Source: windowsreport.com/disable-auto-arrange-folders-windows-10