How to factory reset your Ematic digital converter?
admin / March 20, 2026
NOTICE: If you choose to do a factory reset by resetting the digital converter back to the factory settings of when you first took it out of the box, this will not delete your recording, once you have done a new channel scan you can access your recordings, however, if you had any recording scheduled to record, you will need to reschedule them as this data is saved on the box itself, not the removable storage.
If you were wanting to do a factory reset by resetting it back to when you first took it out of the box for the first time press “MENU” on your remote control.
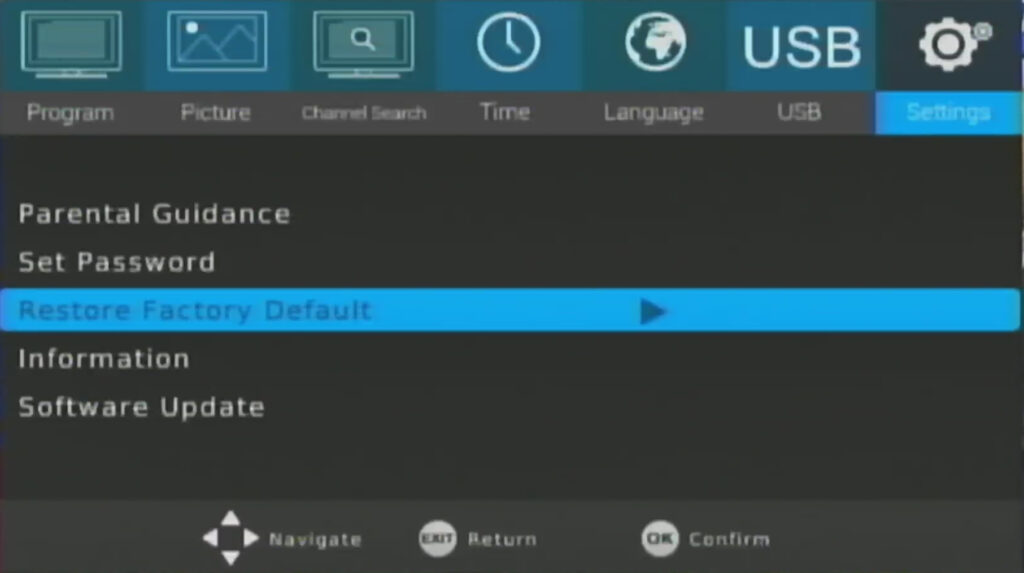
After you press menu on your remote control, you will see a screen that will look like this, scroll all the way until you see “SETTINGS“ then chose “Restore Factory Default”.
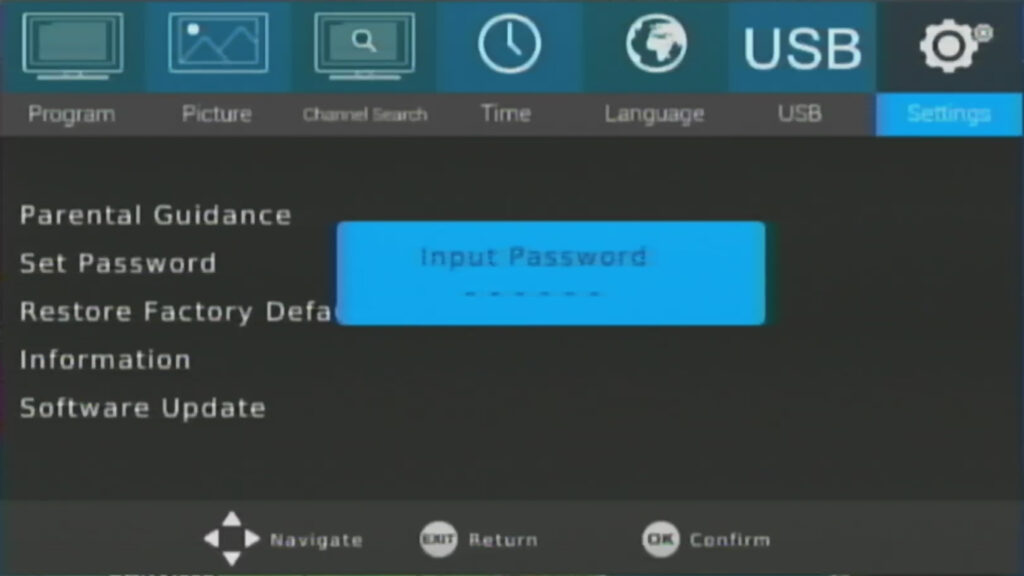
Now you will be prompted to enter a password, unless you changed the password, the default password is all zeros. When you enter the zeros they will display an “X”, once all of the spaces has been filled in continue to the next step.
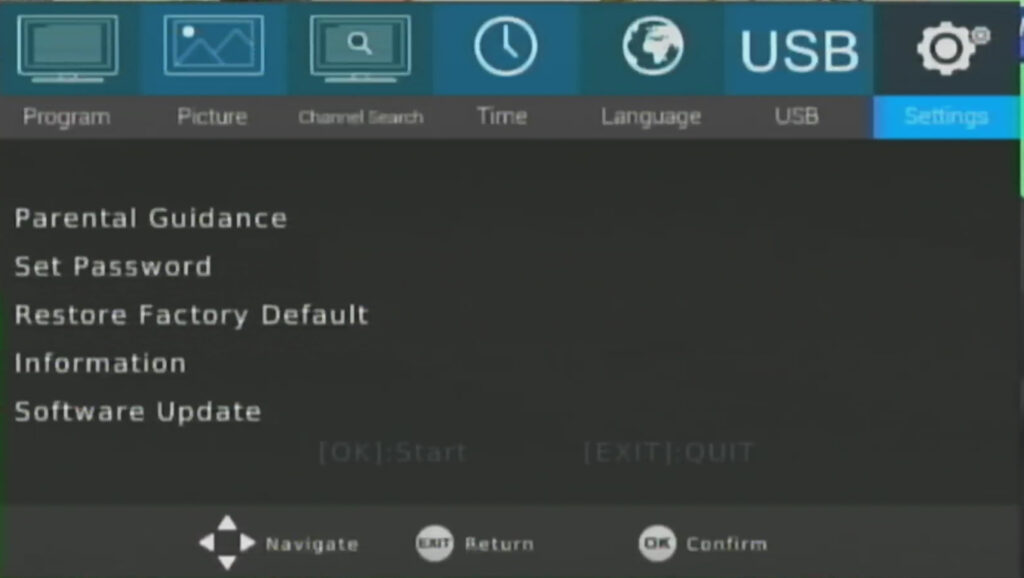
Now you will have a choice to continue with the Restore Factory Default or cancel the Restore Factory Default. To proceed with the Restore Factory Default, press “OK” to start with the Restore Factory Default, if you do not want to continue with the Restore Factory Default, press “EXIT”, which will cancel the Restore Factory Default and return you to the previous screen without displaying the prompt for you to enter a password.
During the Restore Factory Default it is STRONGLY recommended that you do not unplug it from the wall outlet or plug-in or pull out the USB drive. Your TV screen may go out for a brief moment to a few seconds as the converter box is restarting.
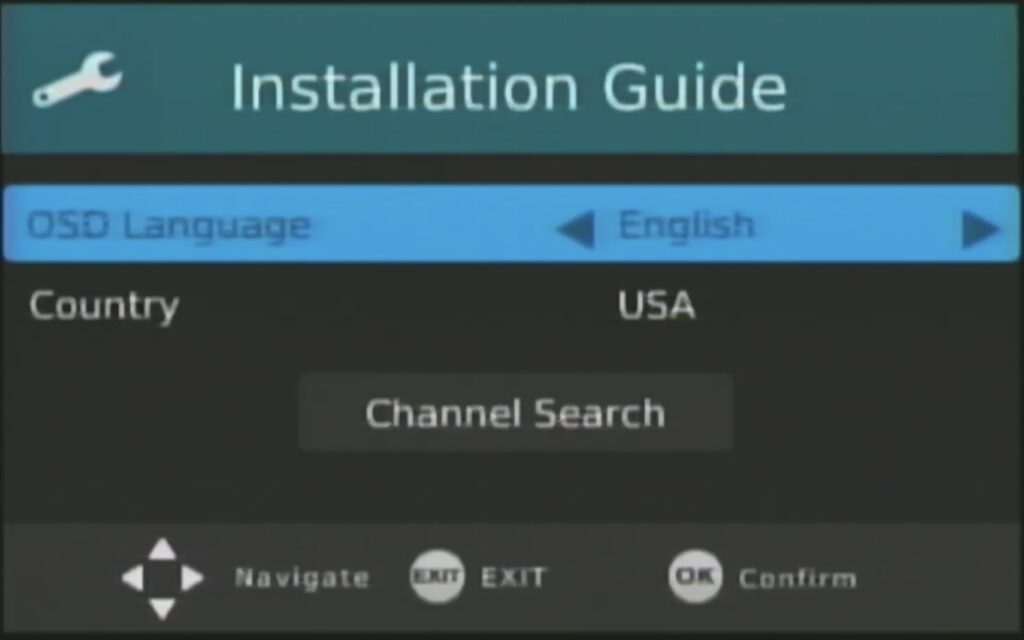
Upon successfully completing the Restore Factory Default you will now see “Installation Guide”.
OSD Language: English (if you do not want to change the default language, which is English, just use the down arrow on your remote to move to the next setting, if you want to change the default language from English to Spanish use the right or left arrow to select Spanish then use the down arrow to move onto the next setting.) (OSD stands for onscreen display).
Country: USA (if you do not want to change the default country, which is USA just use the down arrow on your remote to move onto the next setting, if you want to change the default setting from USA use the right or left arrow to select the country then use the down arrow to move onto the next setting.)
Now you see what looks like a big button that says “Channel Search”, you are not required to do a channel search although you may not have any channels to watch so I would strongly recommend that you do a channel scan.
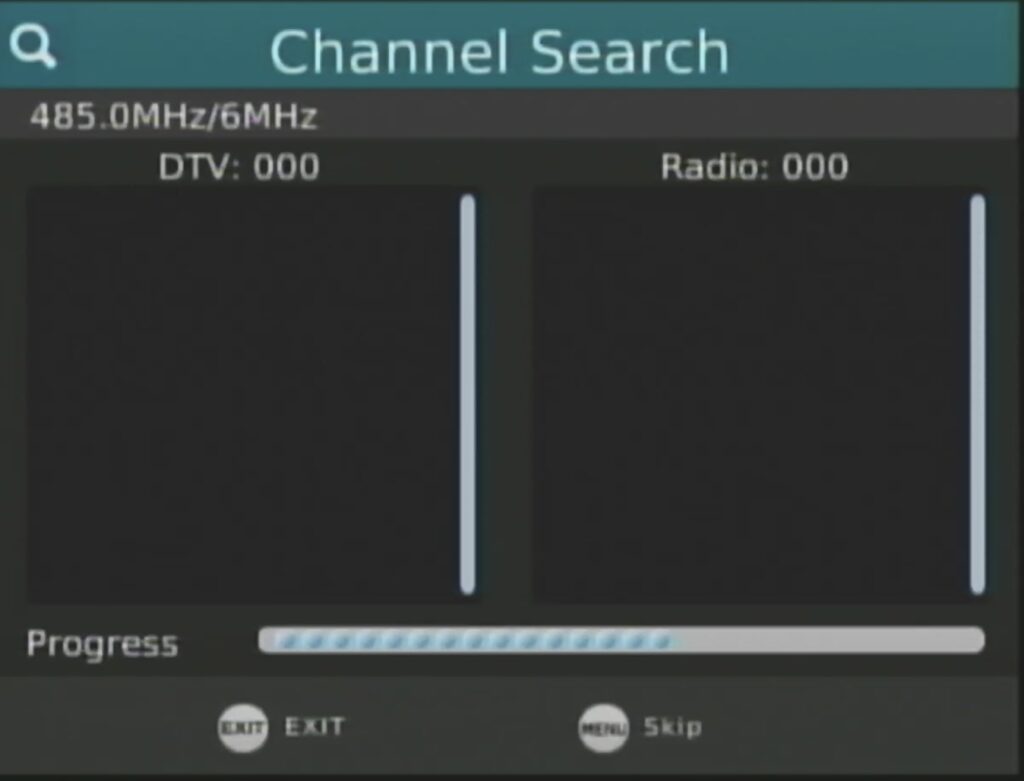
To do a channel search. Make sure that what looks like appears to be a big button is highlighted in blue then press the OK button in the channel search will start as seen in the next photo.
Screenshot
The channel search will take some time so please be patient. Once the channel search has been completed you’ll see a smiley face with the words that says “saving” and then you will ready to start using your Ematic digital converter.
Screenshot
After you see a smiley face with the word that say “saving” you will start to see and hear some audio from the lowest channel which means you are now ready to start using your Ematic digital converter.
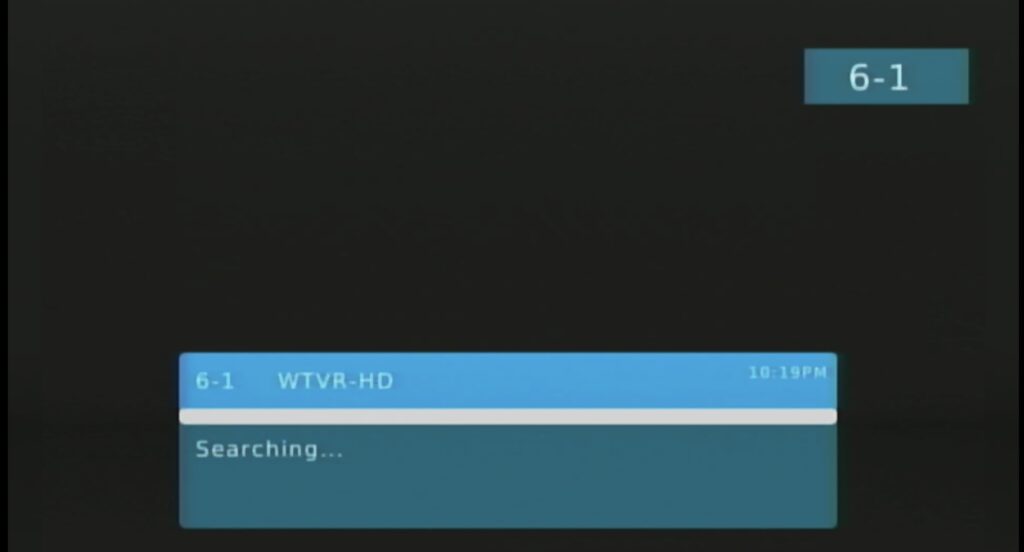
Screenshot
CONGRATULATIONS! You’re now finished.
When you press “guide”, there may be a slight delay in the EPG (electronic program guide) displaying all of the upcoming shows where it may show a few shows and then slowly start to trickle in within about 30 seconds, as far as the synopsis (information about what the show is about) this may take sometime for this information to be available.