How to setup your email with your iPad or iPhone?If you click on an email address or a link that has an email address chances are you are going to open up the app that handles the receiving and sending of emails. On the screen you can chose iCloud, Microsoft Exchange, Google, Yahoo, AOL, Outlook and other. For this we will be using our own domain name, so click on other. 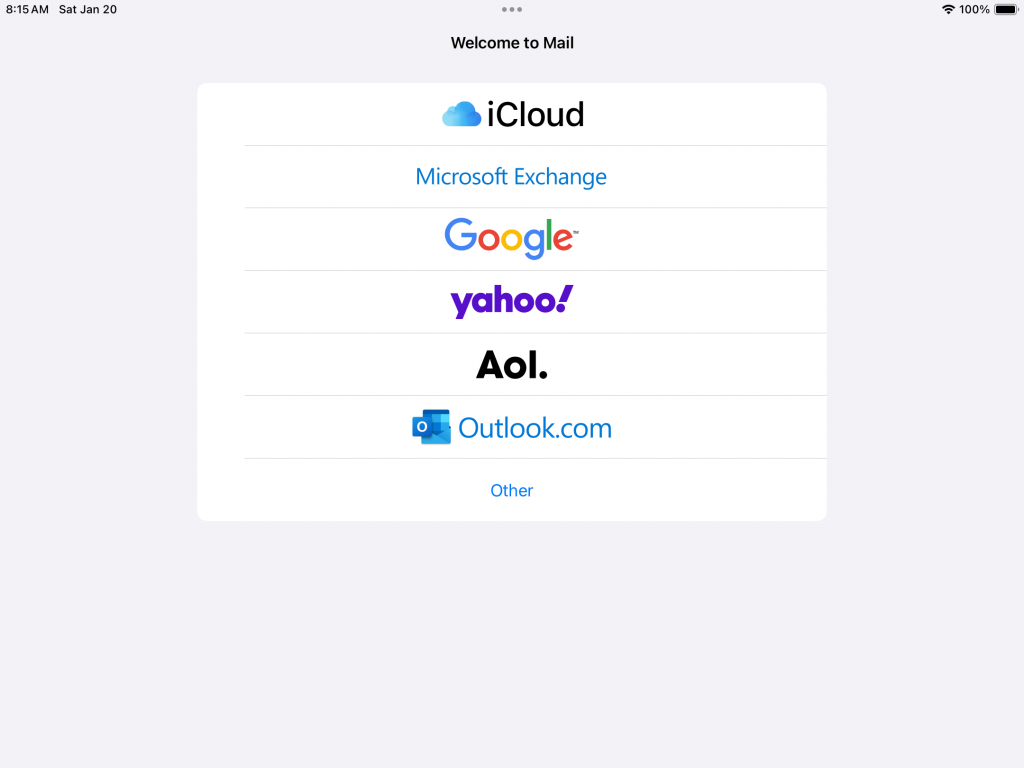 You will need to enter the following and all fields are required, you will need to enter your name, full email, password and a description, when you are done press next. Some of the information that you entered on the previous page will be already filled in for you on this page, but you will need to complete the rest of the form. On this page, there is three sections, first section which is already been filled in as he filled in the information on the previous page, middle section is the incoming mail server, and the third section is the outgoing mail server. Incoming mail server: you’ll need to enter the host name, username, and password. Outgoing mail server, you will need to enter the host name, username, and the password. when you are finished tap on next. 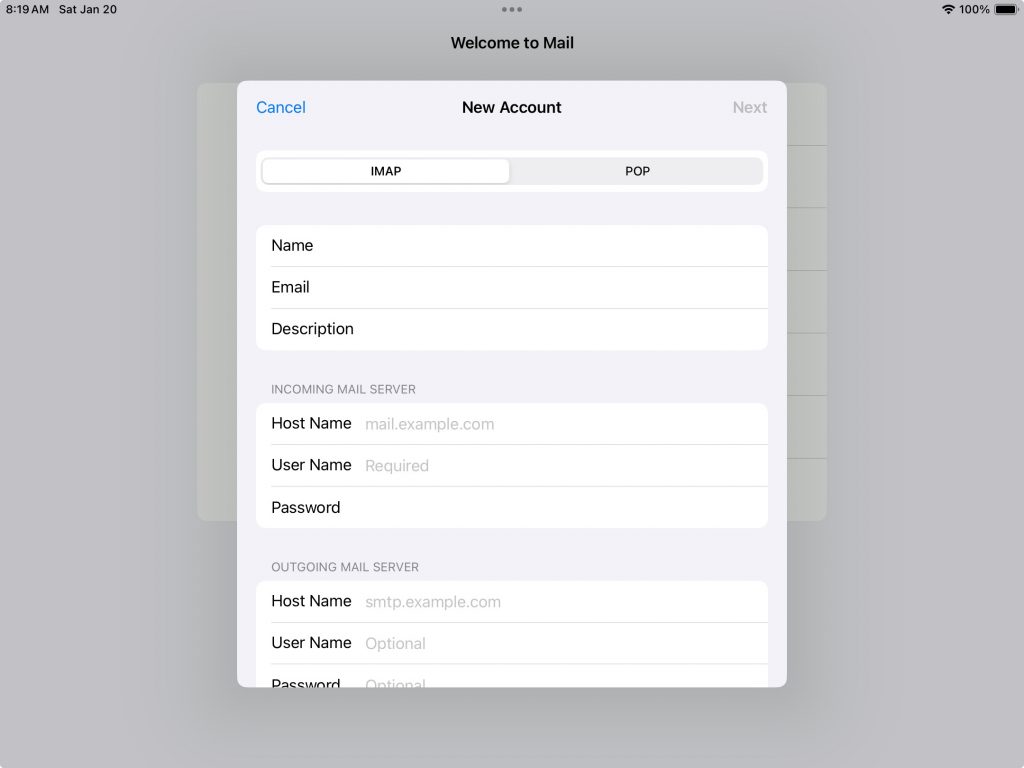 After you click on next it is now going to verify the information that you have entered. This may take a while so please be patient. You should see a spinning circle with the word “verifying”. 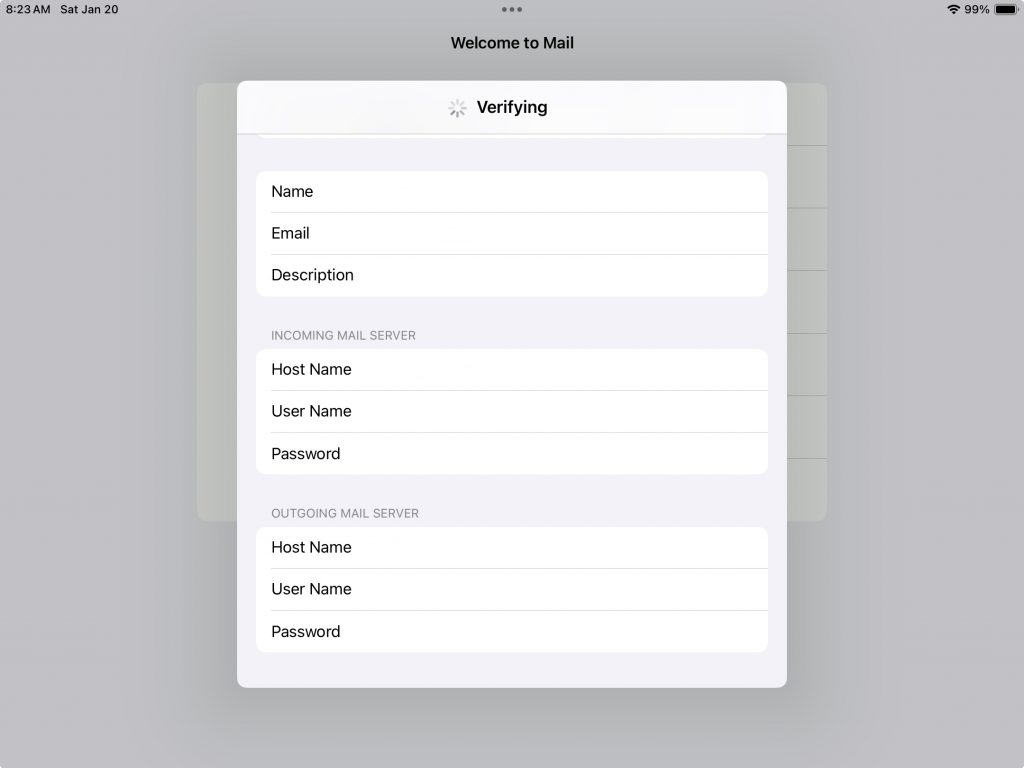 If everything is successful, you should see blue checkmarks on the right side. If not, you will be prompted to make the corrections and then try again. The screen will appear for a few seconds, so please be patient, after a few seconds, it will move onto the next screen. 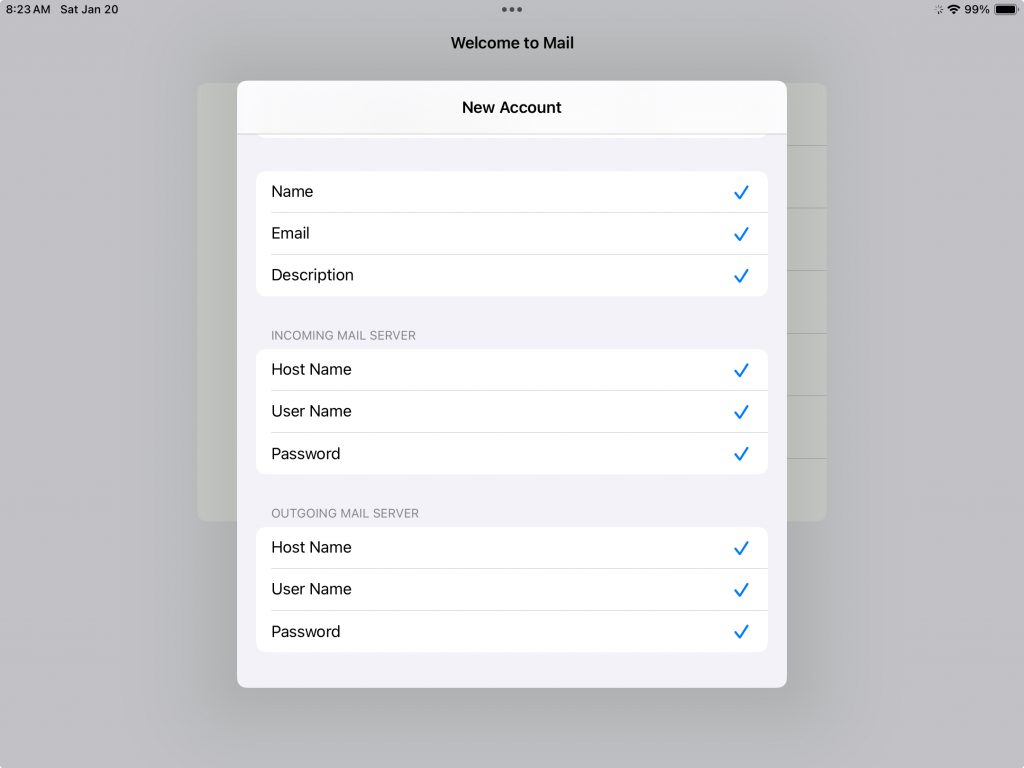 Now you will be greeted with this dialogue box tiled. IMAP, with two options, mail (slider to the right with green showing = yes) and notes (slider to the left with gray showing = no) for this I did not make any changes to this, so I left as is and just pressed next. 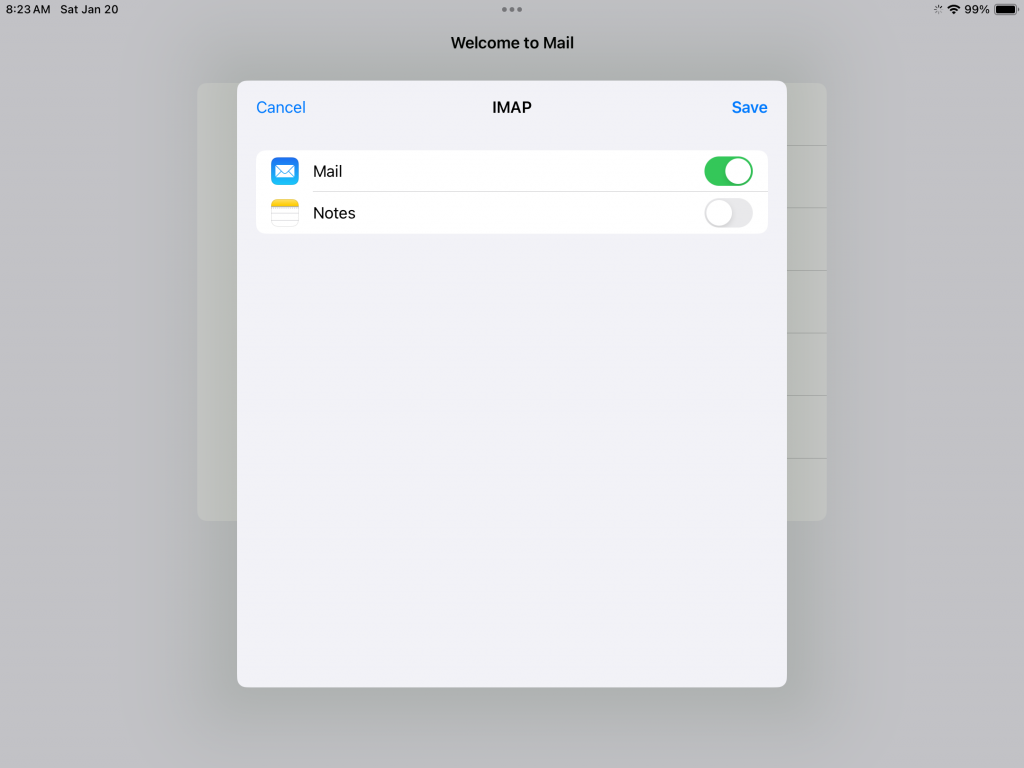 The next series of questions are going to be pop-ups that mostly has to do with privacy, starting with the first one asking if “Mail” would like to send you notifications. 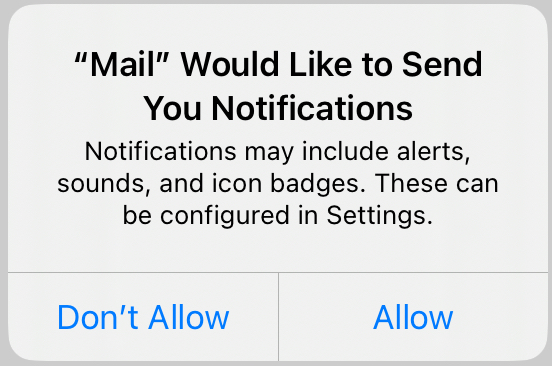 CONGRATULATIONS! You have now successfully set up your iPad/iPhone to be able to send and receive emails. You may be prompted when you open up your Mail app with this dialogue box as seen in the screenshot below. The box reads Mail Privacy Protection Mail Privacy Protection works by hiding your IP address and loading remote content privately in the background, even when you don’t open the message. This makes it harder for senders to follow your Mail activity. Learn more… Protect Mail activity Don’t protect Mail activity Continue For me, I chose don’t protect mail activity. 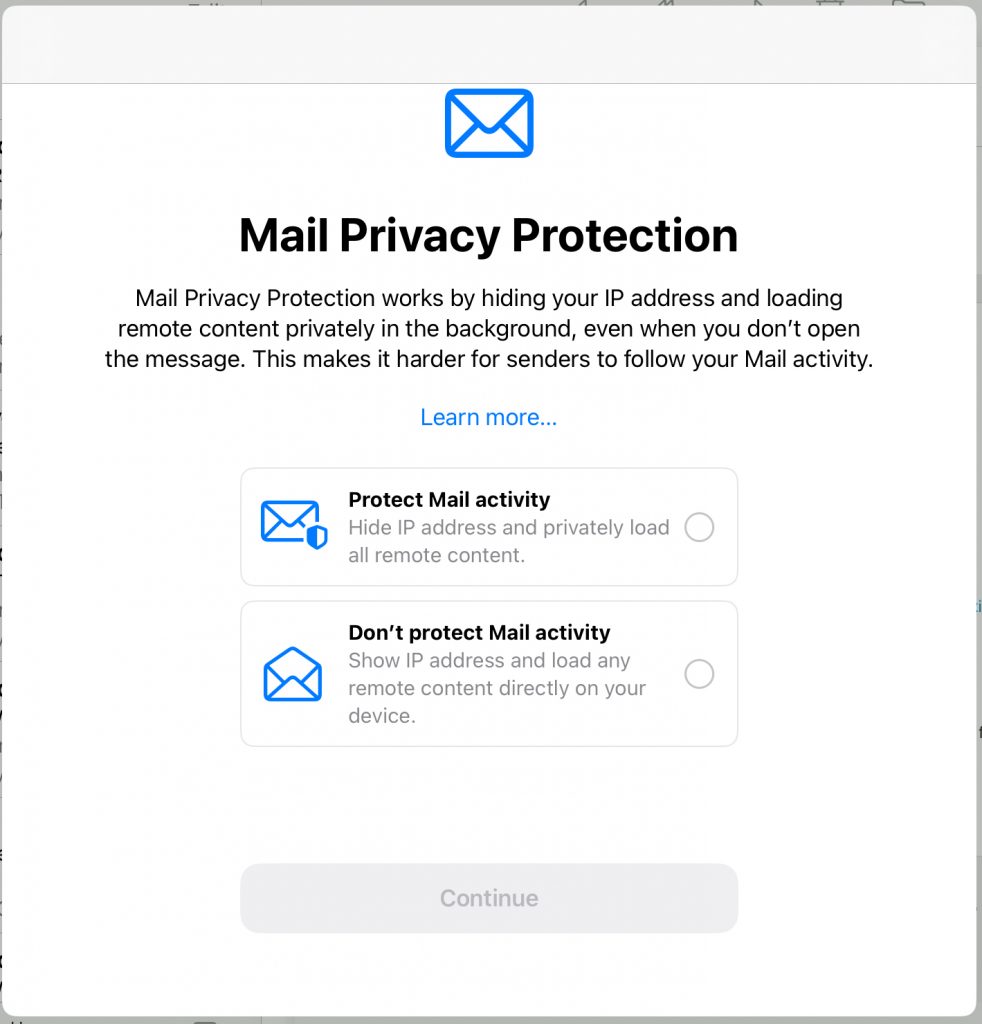 |
CommentsComments are hidden, you must click on show comments to read and/or post your own. |